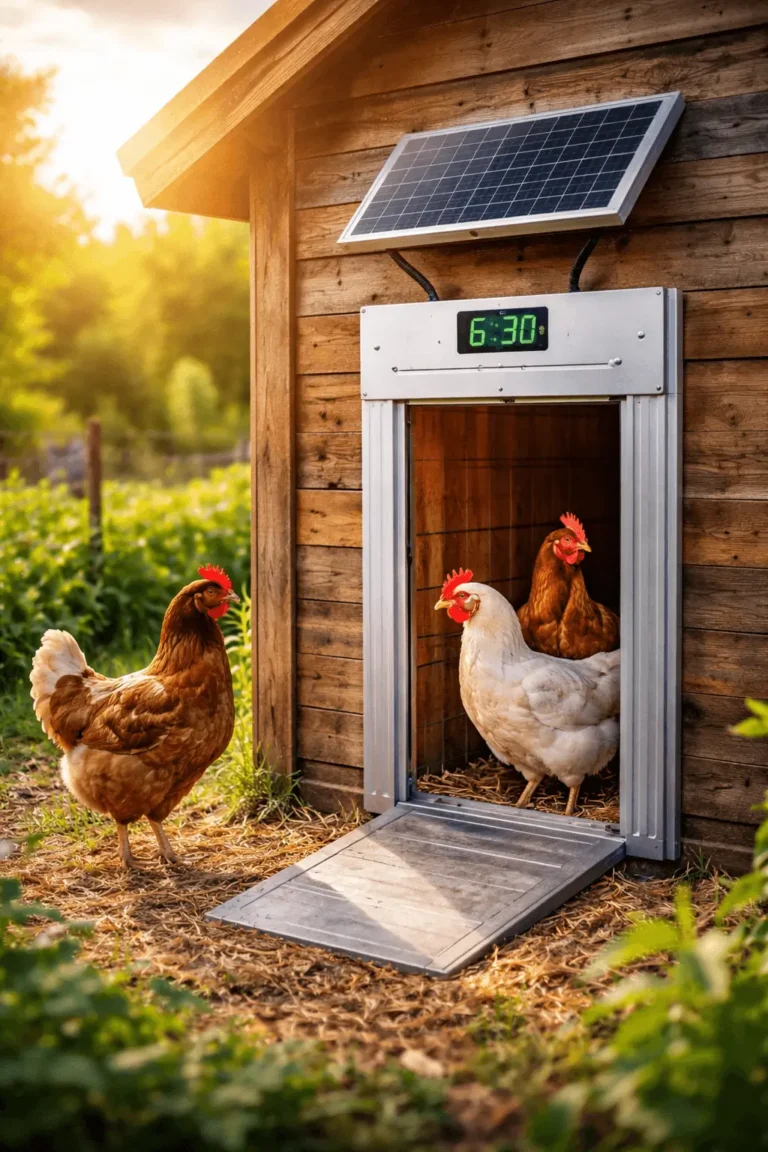
A solar chicken coop door looks simple on paper. A panel, a motor, a sliding door. In practice, most installations fail because of small mistakes that compound over time. Slight misalignment, weak solar exposure, or improper setup of the control system will cause the door to jam, drain battery, or fail to close at night.
That is where problems start. One missed closing cycle is enough for predators to get inside.
This guide focuses on doing it properly from the start, using real specifications and behavior from three widely used models: NyPots, Chickcozy, and RUN-CHICKEN.
Table of Contents
Solar Chicken Coop Door Comparison
| Model | Power Type | Weight | Material | Key Strength | Amazon Price |
|---|---|---|---|---|---|
| NyPots | Solar + cable backup | ~3.5 lbs (1.6 kg) | Aluminum + ABS | Easy install + LCD control | View Price |
| Chickcozy | Solar + USB | ~5 lbs (2.3 kg) | ASA | Dual motor predator lock | View Price |
| RUN-CHICKEN | Built-in solar | ~3.3 lbs (1.5 kg) | Aluminum | App + automation | View Price |
Understanding the System Before Installation
Every solar chicken coop door operates on the same basic principle. A small motor drives a vertical or horizontal door. That motor is powered by a battery. The batery is charged via a solar panel or a secondary input like USB.
The control system decides when to open or close. This is either based on light detection, a timer, or manual override.
What actually matters is not the electronics. It is resistance. If the door encounters resistance, even slightly, the motor compensates. That leads to higher power draw, inconsistent operation, and eventual failure.
Choosing the Right Model for Your Solar Chicken Coop Door
This is not just preference. The wrong model creates installation problems before you even start.
NyPots Solar Chicken Coop Door
NyPots is built around simplicity. The opening size is clearly defined at 8.2 inches wide and 9.6 inches high, which works well for standard chickens but not for larger poultry like turkeys.
The LCD display is a major advantage. You can see and adjust parameters without guessing. Timer mode and light sensor mode are both available, and manual override can be forced by setting identical open and close times.
The anti-pinch system adds safety by detecting resistance and reversing briefly before attempting closure again. That feature matters if you have younger or slower birds.
This model is best used in setups where installation speed and ease of use matter more than extreme durability.
Chickcozy Solar Chicken Coop Door
Chickcozy takes a different approach. It is heavier, thicker, and built for long-term outdoor abuse. The ASA material is significantly stronger than typical plastic, and the structure is reinforced to handle impacts, freezing temperatures, and mud.
The dual motor system is the standout feature. Each side of the door is controlled independently, creating a tighter seal when closed. This makes it far more resistant to predators like raccoons and foxes.
It also includes dual anti-pinch protection. One system reacts to light contact, while the second detects stronger resistance. The door then retries closing gradually, which reduces the risk of injury while maintaining security.
The solar system uses a high-efficiency panel with around 20.9 percent conversion rate, paired with a 3200mAh battery. This allows it to run even during periods of low sunlight.
This is the model to choose if your environment is harsh or predator pressure is high.
RUN-CHICKEN Solar Chicken Coop Door
RUN-CHICKEN simplifies the system by integrating the solar panel directly into the unit. That removes external wiring and reduces installation complexity.
The battery is designed for long-term use, often lasting five years under normal conditions. The system supports app control, which allows you to set schedules or rely on automatic sunrise and sunset operation.
The structure is aluminum, which provides a good balance between weight and durability. It is also desaigned to operate in a wide temperature range, from around -15°F to 140°F.
This model works best for users who want minimal maintenance and a clean setup without additional components.
Tools and Preparation
You do not need specialized tools, but precision matters.
Use:
- Drill or screwdriver
- Measuring tape
- Level
- Marker
Before starting, fully charge the battery if the unit allows it. This prevents weak motor performance during initial testing.
Step-by-Step Installation Process
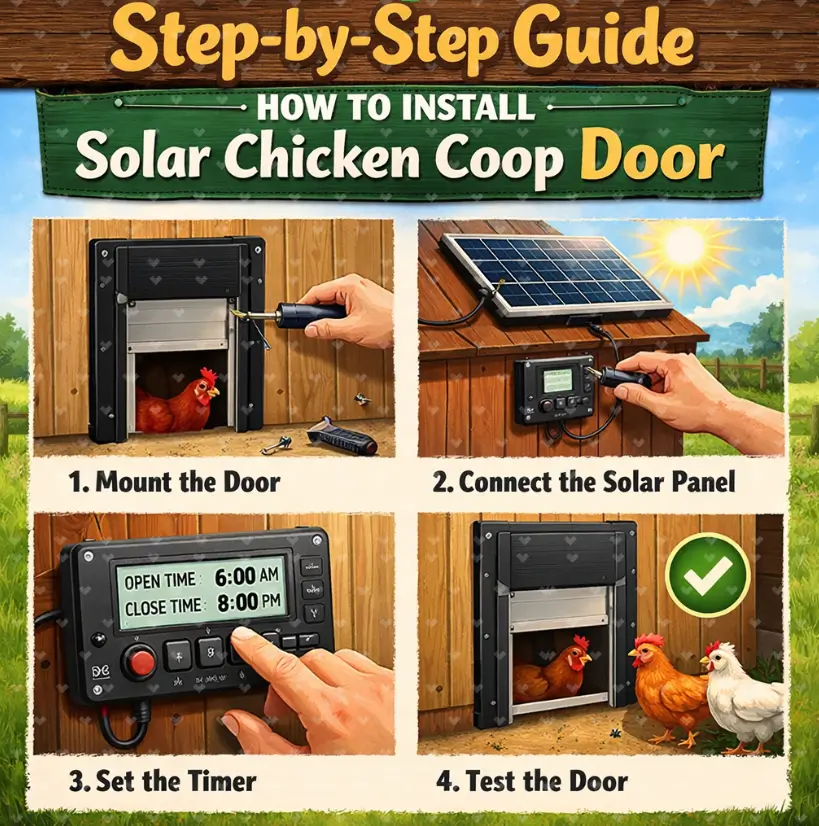
Step 1: Select the Mounting Area
Choose a flat, stable surface around the coop entrance. Avoid warped wood or uneven surfaces. The door frame must sit flush against the wall.
Leave enough clearance above the opening so the door can fully retract without obstruction.
Step 2: Measure the Opening Accurately
Measure width and height carefully. Compare these values with the door specifications.
For example, NyPots requires at least 8.2 inches of width clearance. Anything tighter will cause friction during operation.
Do not assume your coop opening is standard. Many are slightly off.
Step 3: Position and Dry Fit
Hold the unit in place without securing it. Check alignment visually and with a level.
Move the door manually if possible. Make sure nothing rubs or catches.
This step prevents most installation issues.
Step 4: Mark and Drill Mounting Points
Mark all screw positions. Start with the top mounts.
Drill pilot holes to prevent splitting wood. Mount the unit loosely at first so you can adjust alignment.
Step 5: Secure the Frame
Once alignment is confirmed, tighten all screws evenly.
Do not overtighten, especially on models with plastic components. Slight deformation can create friction points.
Step 6: Install and Position the Solar Panel
If your model uses an external panel, mount it where it receives direct sunlight for most of the day.
Avoid placing it under roof edges or near objects that cast shadows.
Even partial shading reduces charging efficiency significantly.
Step 7: Initial Power Setup
Turn on the unit and confirm battery level.
Run at least one full open and close cycle manually. Observe movement closely. The door should move smoothly without hesitation.
Step 8: Configure Automation
Set your preferred mode.
Light sensor mode is the most common. It opens at sunrise and closes at sunset.
Timer mode gives you fixed control, which is useful if your coop is partially shaded.
Manual mode allows direct control for testing.
Step 9: Test Safety Features
Place a soft object under the door and trigger closing.
Check if the door stops and reverses.
Chickcozy performs multiple reclosure attempts with increasing force. NyPots uses a simpler bounce-back system. RUN-CHICKEN relies on sensor detection.
Step 10: Monitor Performance
Let the system run for several days.
Observe:
- Opening consistency
- Closing reliability
- Battery behavior
Make small adjustments if needed.
Advanced Optimization Tips
Aligning the door perfectly reduces energy consumption. Even a small tilt increases motor load.
Clean the rails regularly. Dust, feathers, and mud build up quickly and create resistance.
Adjust light sensitivity if the door opens too early or closes too late.
Angle the solar panel slightly instead of mounting it flat. This improves energy capture.
If you are looking to power more than just your coop, such as a mobile office or security cameras, read our guide on Starlink Mini Power Consumption: 5 Best Solar Generators to optimize your entire farm’s energy grid.
Common Issues and Fixes
If the door stops halfway, check for debris or misalignment.
If the battery drains quickly , improve solar exposure or reduce friction.
If the door fails to close fully, inspect the frame and ensure nothing blocks the path.
If opening times are inconsistent, recalibrate the light sensor.
FAQ Section
How long does installation take
Most installations take between 15 and 30 minutes with proper alignment.
Do solar coop doors work in winter
Yes, most models operate in freezing conditions with battery support.
Can predators open these doors
High-quality models with locking systems prevent forced entry.
Do I need electrical wiring
No, all listed models operate independently using solar power.
How long does the battery last
Typically several days without sunlight, depending on usage and model.